Sunday, August 12, 2012

Christmas Ornaments


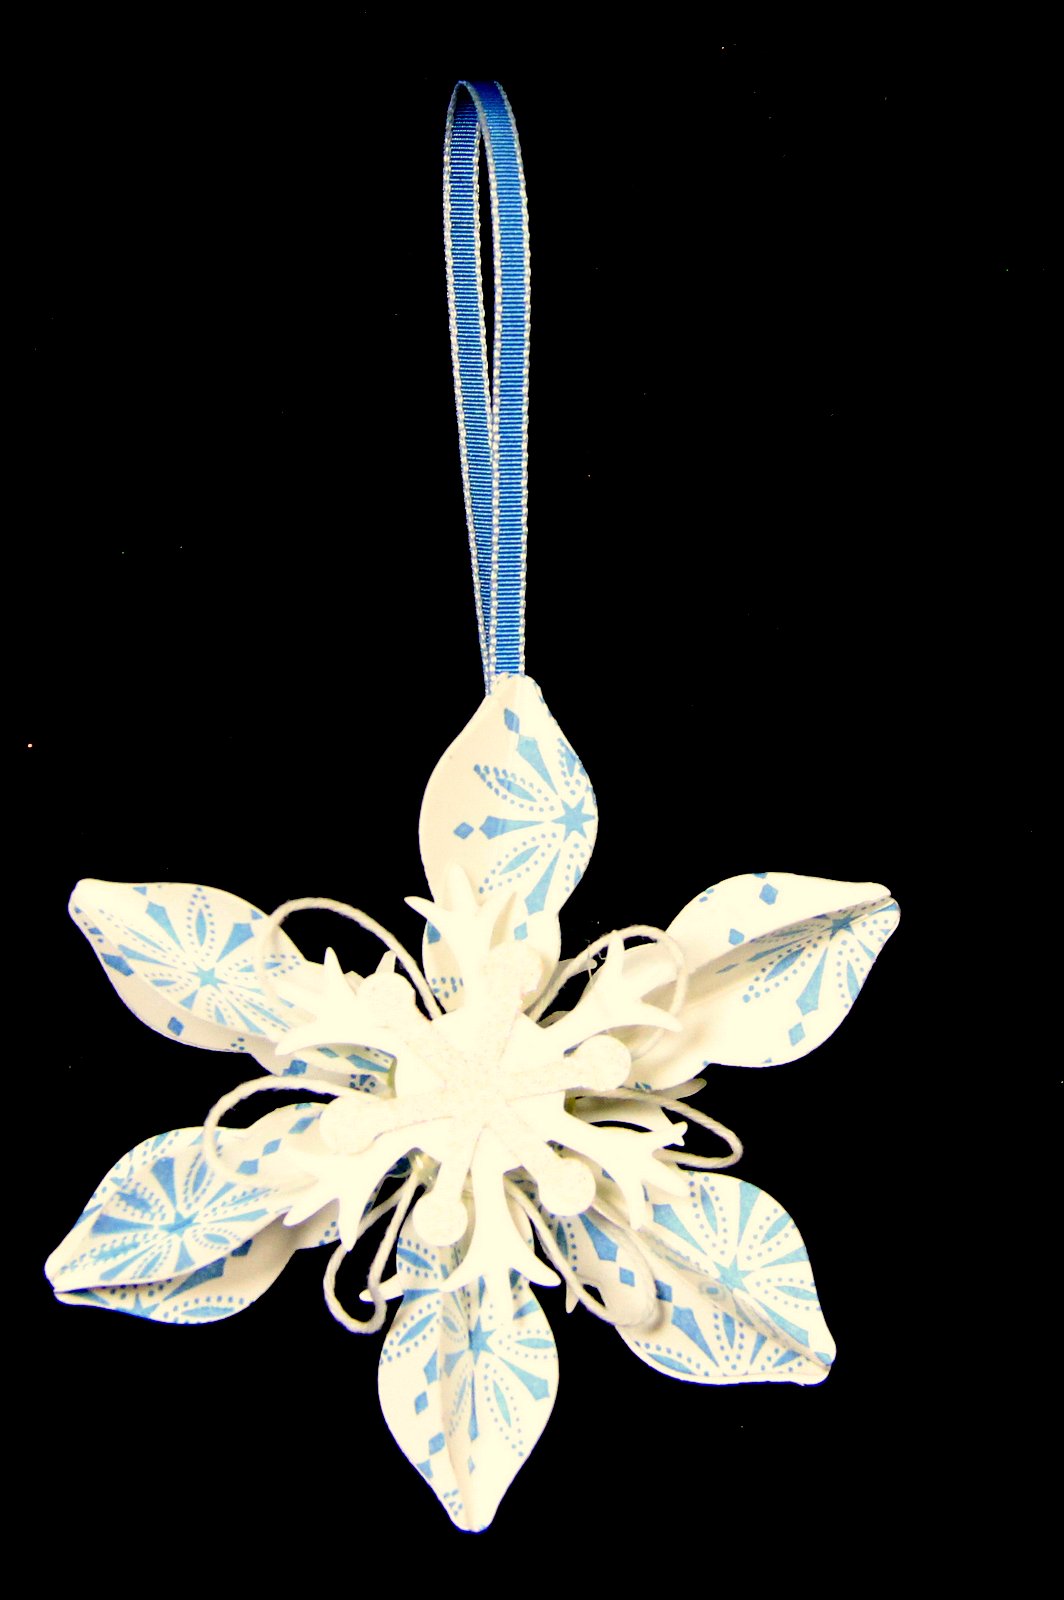
When I first saw the cover of the Holiday Catalog, I thought to myself that I would not be making these ornaments anytime soon!  But when a recent party hostess asked if I could demonstrate this at her party last week, I said "Sure, no problem!"  So I spent an afternoon creating ornaments!  I have to admit, they are pretty easy!  Time consuming, but once you get the hang of them, they come together really well!  The secret is using the new silicone mat to help line up the petals and lots of hot glue!

  You can stamp whatever image you want or use designer series paper and die cut them with the new Holiday Ornaments Framelits.  To make sure you get a good fold in the petals, use the Simply Scored tool as well.  How great is it that Stampin' Up! is offering the Ornament Keepsakes stamps and the Holiday Ornaments Framelits as a bundle? 

To order, go to my website www.susanlacroix.stampinup.net
Posted by Picasa

Saturday, August 11, 2012

Simply Scored Scoring Tool & Diagonal Plate


This was a Hostess Club project from a few months ago.  We made an envelope using the Simply Scored system out of Wisteria Wonder card stock and embellished it with some punched flowers, Labels Framelits and Polka Dot Prints DSP.   The insert card was stamped with Apothecary Art stamp set and water colored using Watercolor Wonder crayons.
Posted by Picasa

Wednesday, August 8, 2012

Black & White...Simple but Elegant

I've done a few black and white cards lately. They are striking, don't you think? This particular card is really easy! The card base is Whisper White with a layer of Basic Black. The top Whisper White piece was embossed with the Polka Dot embossing folder and Sizzix Big Shot ( I think it's my favorite embossing folder!). The Paper Daisies are layered and put together with a black Glimmer Brad. The greeting was stamped using the Layered Labels stamp set and die cut with the Apothecary Accents Framelits & Sizzix Big Shot. The Basic Black Polka Dot Ribbon just finishes it off!


Posted by Picasa

Tuesday, August 7, 2012

Christmas Vintage Swap


The second organized swap I participated in at Convention was a Christmas Vintage Swap.  The strip of card stock along the left edge is our new Core'dinations card stock introduced in the Holiday catalog.  It was embossed and then sanded.  I really like how a lighter shade of the card stock pops with the sanding.  It comes in three colors - Cherry Cobbler, Gumball Green and Early Espresso.
The Poinsettia was embossed in gold, then watercolored with Cherry Cobbler re-inker and an Aquapaiter.  It's hard to see but the card was also spritzed with Garden Green and Cherry Cobbler markers and the Spritzing tool.

Supplies:  Watercolor Winter and Heart of Christmas stamp sets; Brushed Gold, Garden Green, Very Vanilla and Cherry Cobbler Core'dinations card stock; Garden Green and Cherry Cobbler markers; Scallop Trim Border punch; Spritzing tool; Delicate Designs embossing folder, Labels Framelits and Sizzix Big Shot; Vintage Faceted Designer buttons.
Posted by Picasa

Monday, August 6, 2012

My love for Vintage continues...


I participated in two organized swaps this year at Convention.  Both were Vintage swaps. This is the first swap.

 I love 2-step stamping and Stippled Blossoms is perfect for Vintage cards!  For this card, I used Primrose Petal ink and stamped off twice for the first flower image.  I stamped the same color, full strength, over it with the second flower image. 
The frame is from Papaya Collage (page 75 in the Annual Catalog).  I didn't want a "shiny" frame so I mixed Gold & Pewter embossing powders to give it a more "tarnished" look.  I tucked some Very Vanilla seam binding and then spritzed the whole card with Vanilla Shimmer Smooch Spritz.  The large pearl in the center of the flower finishes it off.
Posted by Picasa

Sunday, August 5, 2012

Convention 2012


 I know, I know....it's been a l-o-n-g time since I have posted!  I keep taking photos of the projects I have been working on, so I have a lot to share!!  So get ready!!!

I have posted the images of the new Annual Catalog as well as the 2012 Holiday Catalog.  Both are fabulous!!!  So many great products and project ideas!!!

But first, let me back up a few weeks.  I attended our annual Convention in Salt Lake City and what a great Convention it was!!  We had a blast! I was blessed to have several of my downline with me this year!   We started out by taking a bus trip to the home office in Riverton.  It is absolutely stunning!  The views of the mountains are beautiful as is the facility itself!

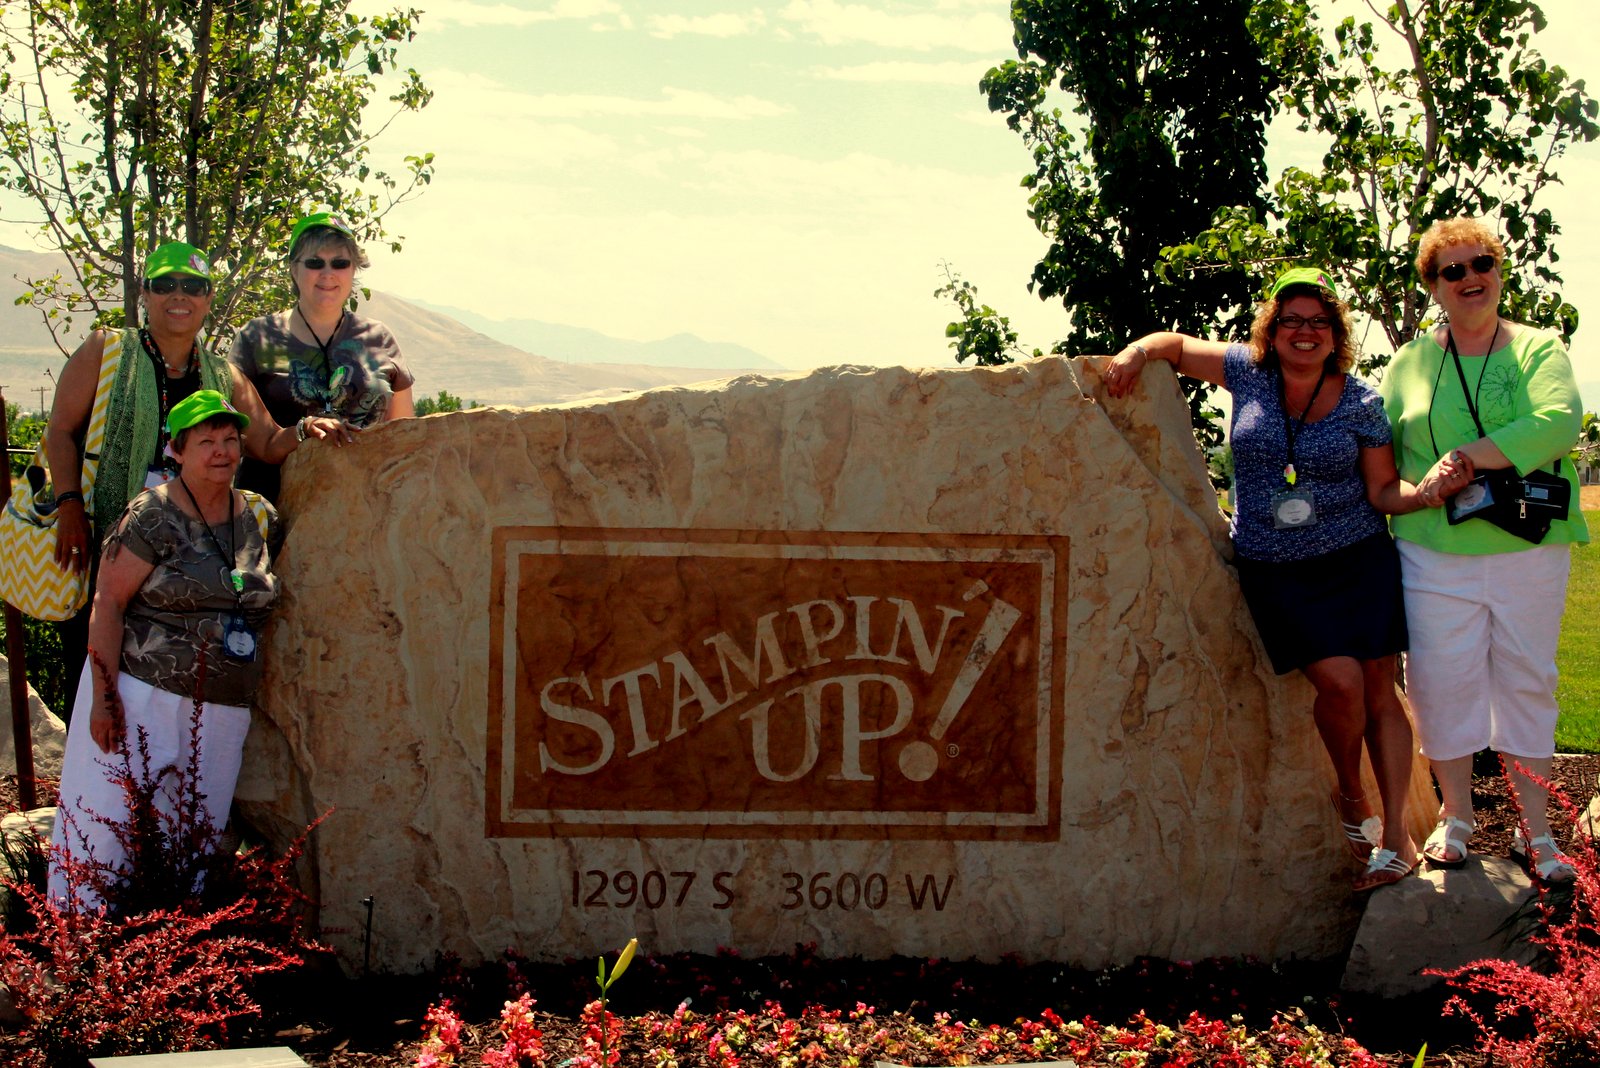
From left to right:  Gloria, Nancy, Carmen, Me and Freddie

I always love attending with my daughter, Julie!  This was a fabulous year for her!  She celebrated her 10th anniversary as a demonstrator, reached the career sales milestone of $200,00 AND achieved Founder's Circle, meaning she is one of the top 100 demonstrators in the company!!  I am so proud of her!


OK, finally a project!  This year I made some altered bags and filled them with snacks for our larger group of about 25 demonstrators.  It's easy to dye the flowers with our re-inkers and I used some of our new Polka Dot Designer Series Paper and matching 1/8" taffeta ribbon!


Posted by Picasa

Thursday, May 10, 2012

Faux Alligator


This was one of the techniques learned at last month's Technique Class - Faux Alligator.  It's an easy technique and works well for masculine cards.  The bottom of the card front is embossed with the Striped Embossing Folder.  The card base, ribbon and Classis Ink is Early Espresso. 
Posted by Picasa